
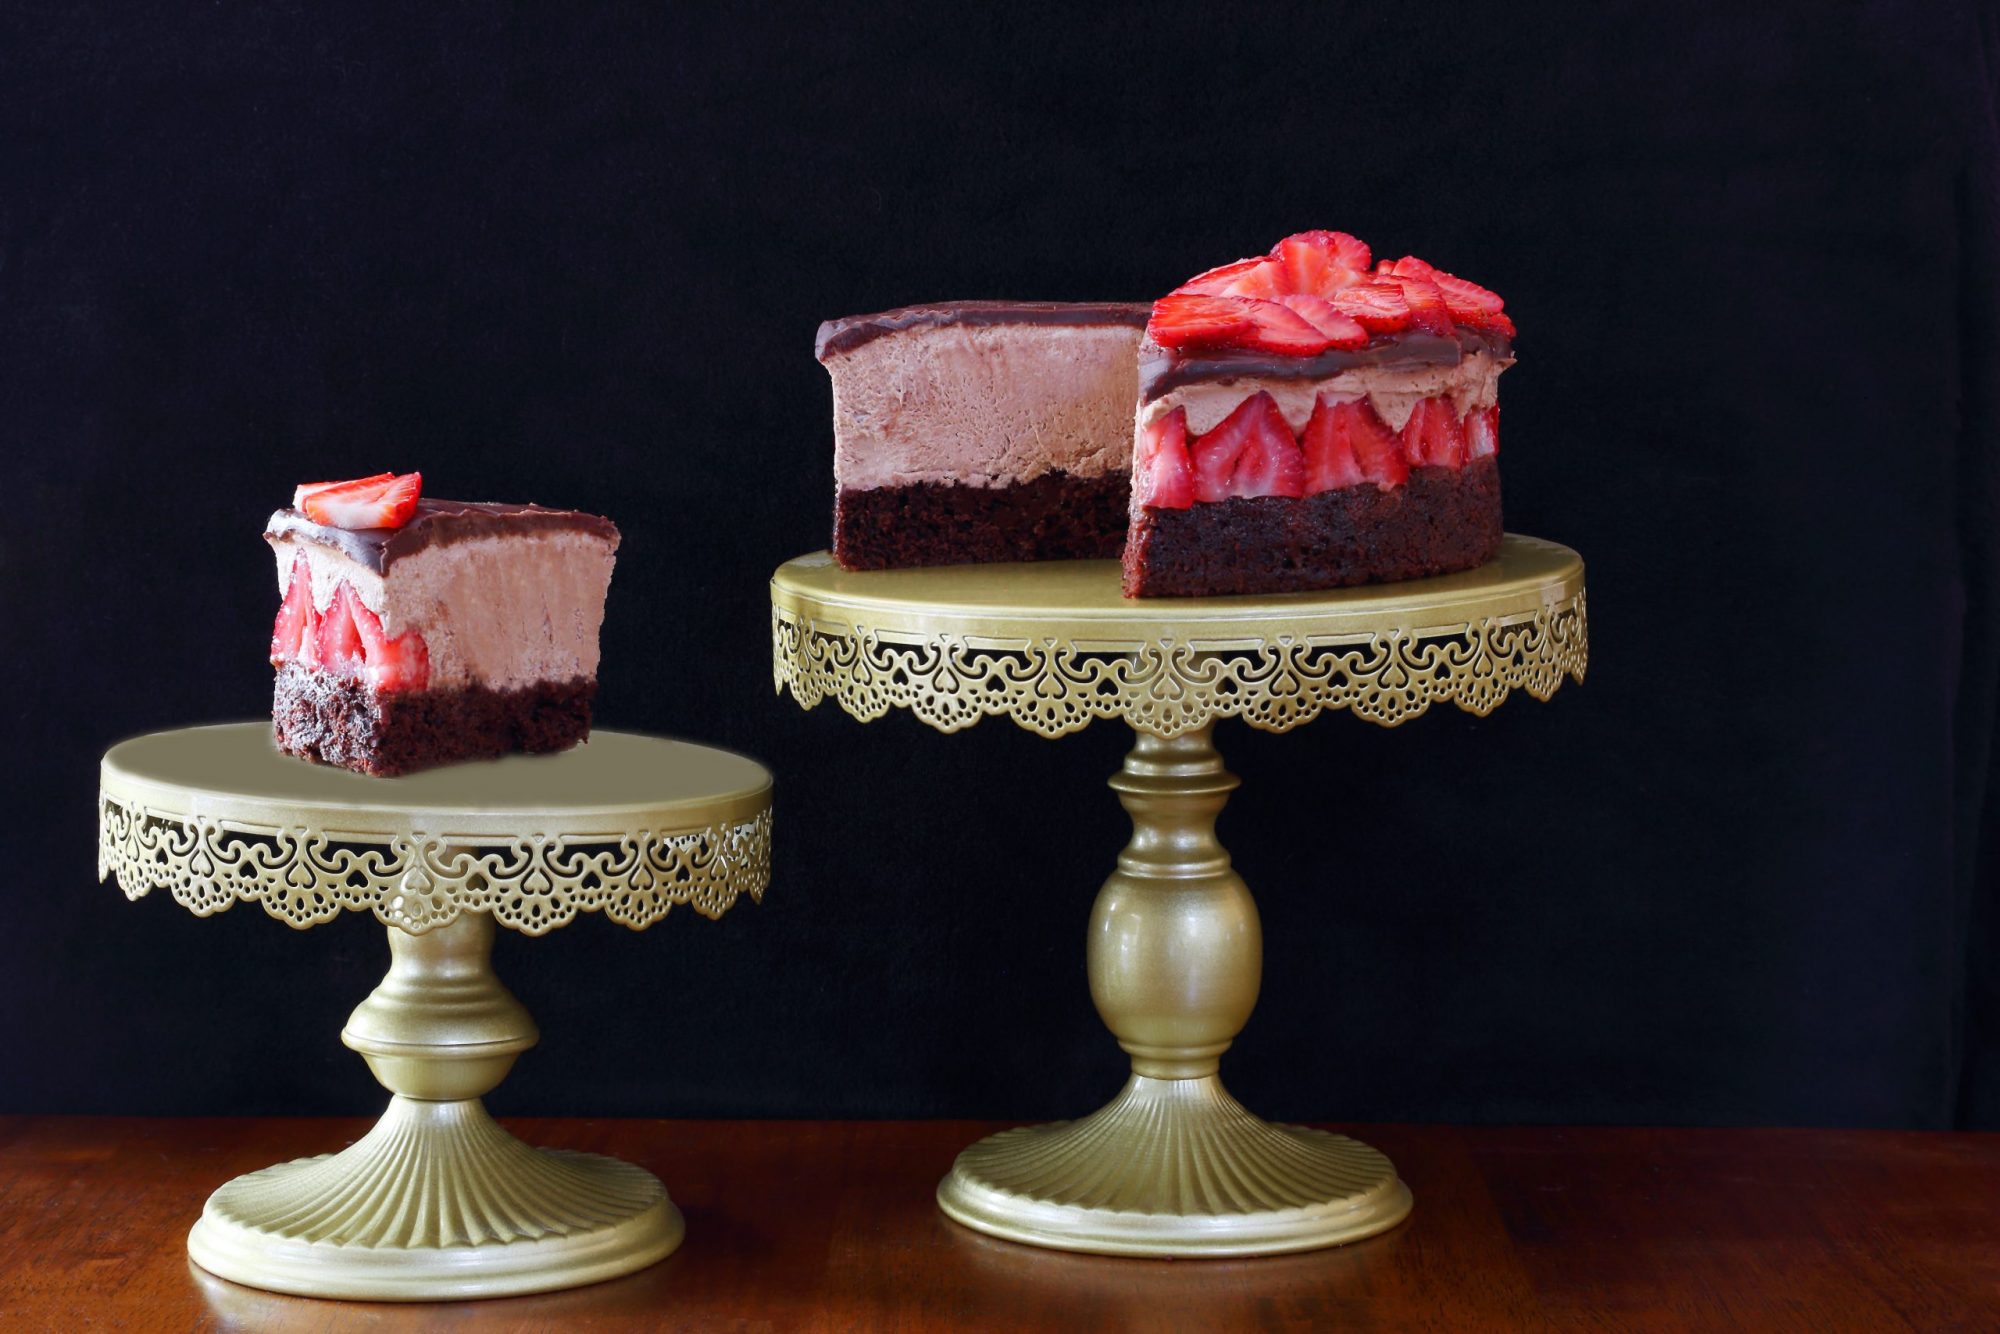
A beautiful chocolate mousse cake with strawberries. Tastes great and looks beautiful.
A beautiful chocolate mousse cake with strawberries. Tastes great and looks beautiful.

I love the things that can be done with fondant, but although nobody seems to acknowledge it, the stuff doesn’t really taste very good. Years ago I saw the recipe for white chocolate (which I adore) plastic but had forgotten about it until I saw it again recently and thought I’d give it a try. […]

Our Daring Cooks’ December 2011 hostess is Sara from Belly Rumbles! Sara chose awesome Char Sui Bao as our challenge, where we made the buns, Char Sui, and filling from scratch – delicious! This challenge was a resounding success receiving the highest award from the taste testers at each step of the way. First the […]
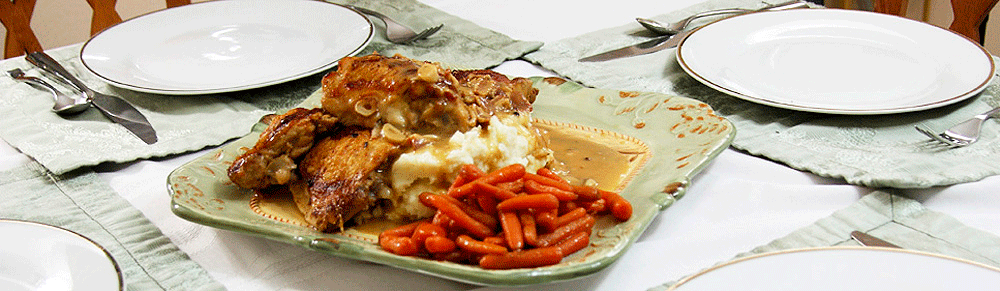
This weekend’s episode was Chicken Canzanese and it looked so good I had to give it a try. I was not disappointed nor was the family! The chicken skin was crisp, the interior was moist and the sauce was fantastic. This is a chicken meal that you could definitely serve to company and was […]
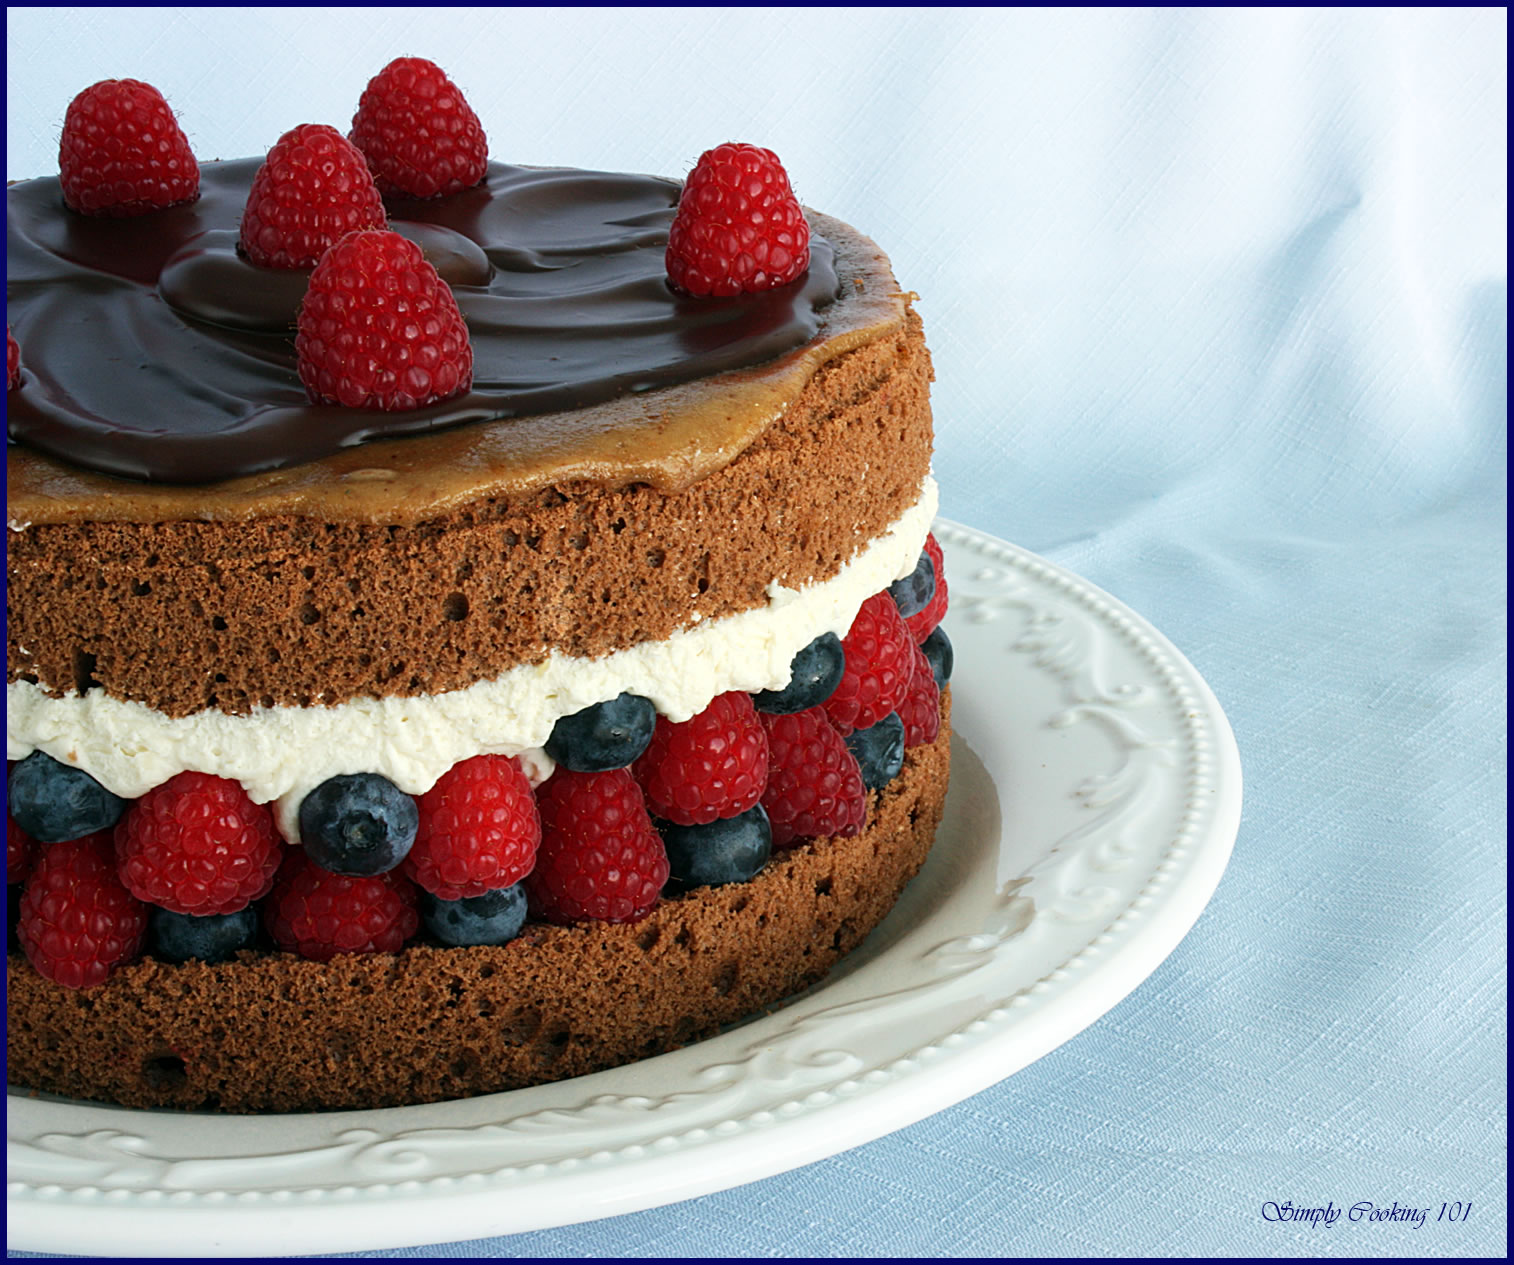
This month’s challenge was just made for me, what could be better than a strawberry cream cake? I did have one slight problem and I need to make sure I remember next time; if you want to keep the kids from eating the strawberries (that you know are their favorite) make sure you tell them […]

Recommended recipes for Epicurious Fried Chicken with Poblano Mashed Potatoes and Chorizo-Thyme Gravy and Roasted Corn With Manchego & Lime
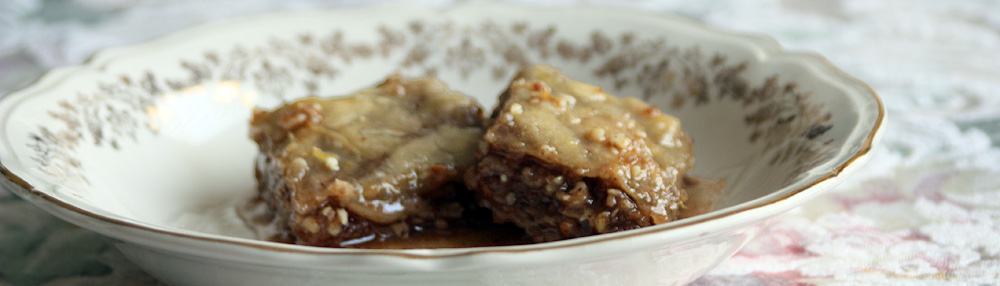
This month’s challenge was to make noodles, with a suggestion for Spätzle. A long (long) time ago I lived in Germany for several years and became very fond of them but although I’ve made lots of other types of noodles, for some reason just never tried these. I know my choice of meatballs in cream sauce […]

I absolutely love Heidi Swanson’s blog 101 Cookbooks. Her recipes are wonderful but even more, her pictures are gorgeous and inspiring. I decided to try her No Bake Chocolate Cake. This is so simple and quick and the family gave it the thumbs up. I will definitely make it again! Basically just cream and chocolate, it […]
This month’s Daring Baker’s Challenge was one I was looking forward to but unfortunately, due to an unexpected but exciting event (my sliders were chosen as one of the top 5 in the LA Times Battle of the Burgers so I was invited for photos and a visit to the test kitchen in Los Angeles) […]

As we have already established, I’m a picky eater. I generally don’t do salads of any kind mostly because I don’t like condiments – no ketchup, no mustard, no dressing (or anything with vinegar in it), absolutely no mayonnaise and healthy is clearly not my strength so coming up with a healthy potato salad […]