Chocolate Maraschino Cherry Cupcakes with White Chocolate Roses

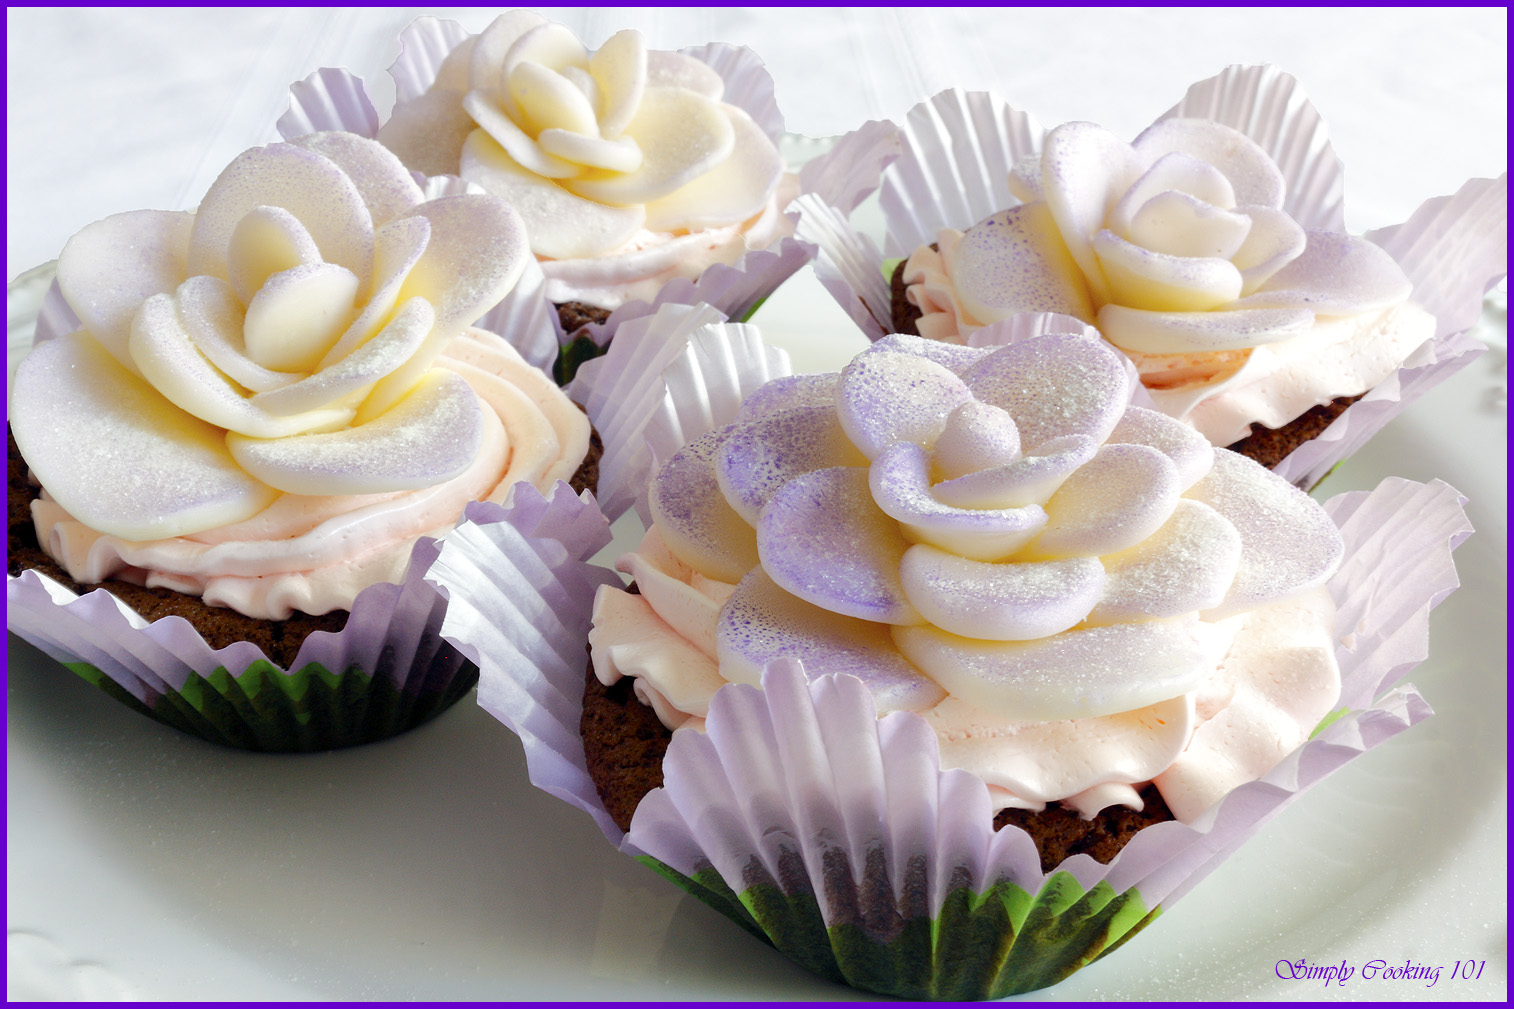
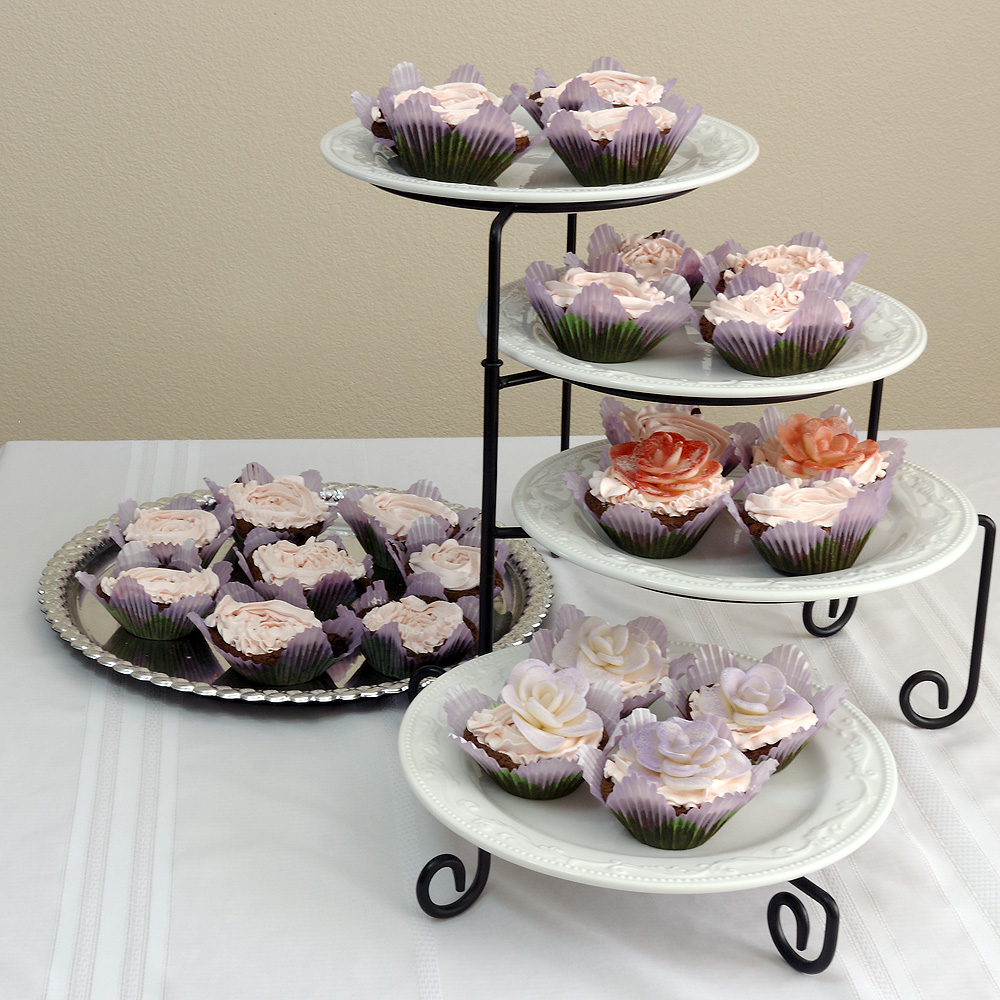
I love the things that can be done with fondant, but although nobody seems to acknowledge it, the stuff doesn’t really taste very good. Years ago I saw the recipe for white chocolate (which I adore) plastic but had forgotten about it until I saw it again recently and thought I’d give it a try. It still isn’t quite as good as plain white chocolate but it is much better than fondant. After I did these, I got a suggestion that I tried on a new batch which made them even better. Being artistically challenged, I was having trouble with the petals drooping unless I kept them pretty thick (as you can see in the pictures the cupcakes are thicker and the how-to pictures are thinner) and she recommended keeping a cup of ice water handy and dipping them in. That worked much better and faster than trying to refrigerate them after each step since my hot little hands were making the chocolate too soft. The quick dip in the ice water helped them to keep their shape. I loved these cupcake papers and with the roses, they looked quite special for the birthday girls.
For the cupcakes I used the recipe Magnolia’s Chocolate Cupcakes, from More From Magnolia but for each cupcake I put two maraschino cherries in the middle of the batter and added a little of the maraschino cherry juice to a swiss buttercream. I know the recipe is on a wedding site but the recipe is great and even has a video to go with it. For the last step, I added about 1/4 cup of the maraschino cherry juice to give it a touch of flavor and a nice pink color.
Printable Version for Making White Chocolate Roses
Now for the roses:
First a day ahead, make the white chocolate plastic which is basically white chocolate and corn syrup melted together. When you’re ready to begin you’ll need plastic wrap, small pastry roller or rolling-pin (you can use your fingers if you don’t have one but this works faster) and a medium to large size bowl filled with ice water. If you want to color the white chocolate, you can knead in some food coloring (paste works best) or as I did, use a food color spray and some cake glitter after they are assembled. Keep the white chocolate plastic wrapped in plastic except the portion you are using or it will dry out.
Cover a cutting board or table with a large piece of plastic wrap and have another piece the same size set aside. For each rose, pull off a very small piece of the chocolate and roll it into a cone shape. Roll about twenty very small (between 1/4 and 1/2 inch at the most) balls making some really small, some just a little larger and some a little larger placing them about 2 inches apart on the plastic. You don’t have to be precise, flowers are never exact anyway and they will look more natural that way (in case you can’t tell, as well as being artistically challenged I’m not a perfectionist but if it suits you, go for it and make them all consistent – I’m hoping to improve both speed and accuracy with practice). You can make more or less petals (for buds) and larger or smaller cones and petals for different size roses.

The next step is to cover them with another layer of plastic wrap then flatten the balls (not the cone) using the pastry roller. I gave them a little dent in the middle, then pushed out each side. Again it’s up to you how perfect you want your petals to be. I did find that using the ice water later allowed me to make them much thinner which I thought made them more realistic although the thick ones did hold up a little better. Refrigerate them while making the next batch.

After the petals and cones have firmed up, take the cone and starting at the top gently wrap a petal around it. Add petals overlapping each one until you have the size and shape you want. If the petals start to droop dip them into the ice water for a second or two and they will firm up. When you’ve finished again place them in the refrigerator so they will keep their shape.

The next step (if you didn’t already color the white chocolate) is to either spray or use a brush to paint color on. I used the spray and when that was dry, a little cake glitter.

Here’s how it looked. I also made a few red ones. The spray did tend to make some “dots” but I kind of liked it. If you don’t just spray a little lighter or use a paintbrush if you want to just do the tips of the petals. I plan on trying lots of different flowers, it was quite fun and they came out pretty well considering my lack of talent.

Here’s some other pictures.


Rufus' Food and Spirits Guide
I’m in awe. Those are gorgeous!
Just A Smidgen
This is amazing! You have really put your heart and talent into this one. I love the pretty lavender colored ones… they could be at a wedding!
Jereme's Kitchen
fabulous!