The Daring Cook’s Challenge – Pierogi (shredded pork and potato)
The August 2010 Daring Cooks’ Challenge was hosted by LizG of Bits n’ Bites and Anula of Anula’s Kitchen. They chose to challenge Daring Cooks to make pierogi from scratch and an optional challenge to provide one filling that best represents their locale.
I went to the “kitchen” store and for $4.99 got a package of 3 different sized plastic forms, although, I eventually found that the ones done with a cup and fork were just as good as sometimes the dough stuck to the form instead of sealing with the opposite edge. I did find that making sure to rub a little water on the inside of the dough helped with the “sticking” problem. I decided to make somewhat traditional pierogi using potatoes and pork, with a little twist to make it simpler. I used left over pulled pork, some frozen, thawed shredded potatoes instead of prepping my own as I didn’t have any leftovers and a food processor instead of kneading the dough.
First, the dough:

I used a simple dough recipe I had (at one time I worked with a Russian gentleman whose wife brought him fresh pierogi every day for lunch and she gave me her recipe).
1/2 cup milk
1/2 cup whipping cream
3 large eggs
1 tsp salt
3 cups all-purpose flour
1. Place all ingredients in the bowl of a food processor and process until the dough forms a ball and pulls away from the sides.
2. Roll the dough on a floured surface to about 1/8 inch (fairly thin).
Next the filling:
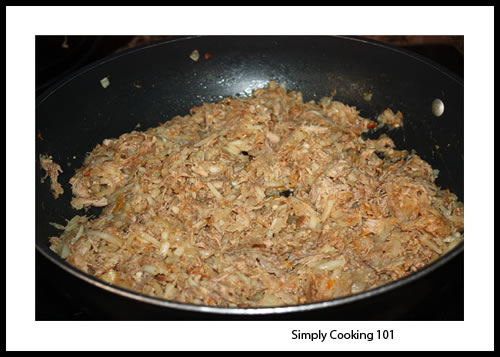
2 Tbs butter
1 small onion
1 Tbs minced garlic
1 cup shredded pork
1 cup shredded potatoes
salt and pepper to taste
I fried the onion and potatoes in the butter until soft but not browned, added the pork to heat through. I’m not a barbecue fan, but you could add some barbecue sauce as well.
Next forming the pierogi
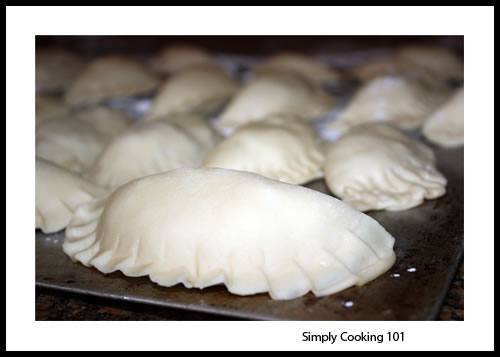
Cut the dough with a round cutter, pierogi form or round rimmed glass. Place a spoon full of the filling and either fold the dough in half and press the seams with a fork or close the pierogi form.
Next boil:
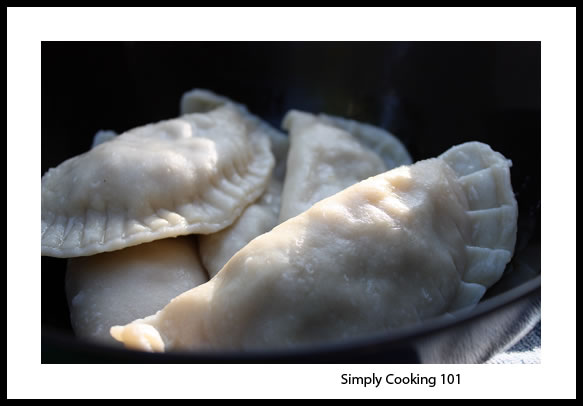
In a large pan, fill with water, add 1 tsp of salt and bring the water to a boil. Carefully place the pierogi in the boiling water a few at a time so they don’t overlap and simmer for about 5 minutes after they rise to the surface.
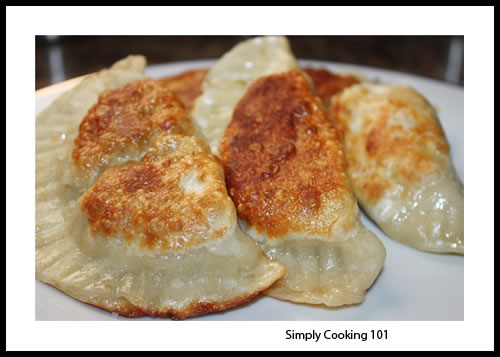
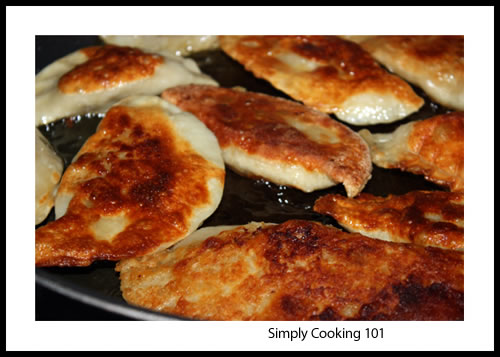
I have to admit, the boiled perogi were not very photogenic. They tasted good, but just didn’t look that great. However, once they were fried (I know, so much for the healthy version), they were really excellent in taste and appearance!
Using the now boiled pierogi, place a thin layer of oil in a frying pan, heat until just beginning to smoke and add the pierogi in a single layer, frying until brown and crispy. You could fry them a lighter but I like really crispy. In our house there is a running discussion over what is crispy as opposed to burnt, but since I’m the cook I usually win!

Kelly @ It's a Food Life
Great job on your first challenge! I love how being the Cook of the House gives you that little bit of control. ha ha
simplycooking101
Thanks, I had fun with it and I agree, I’ll take any control I can get!
Anula
Great looking pierogi! Congrats on your first challenge!
Thank you for taking part.
Cheers. Anula.
simplycooking101
Thanks, what a great idea the challenges are!
jo
Great job on your 1st challenge and the pierogis look deliciously good.